
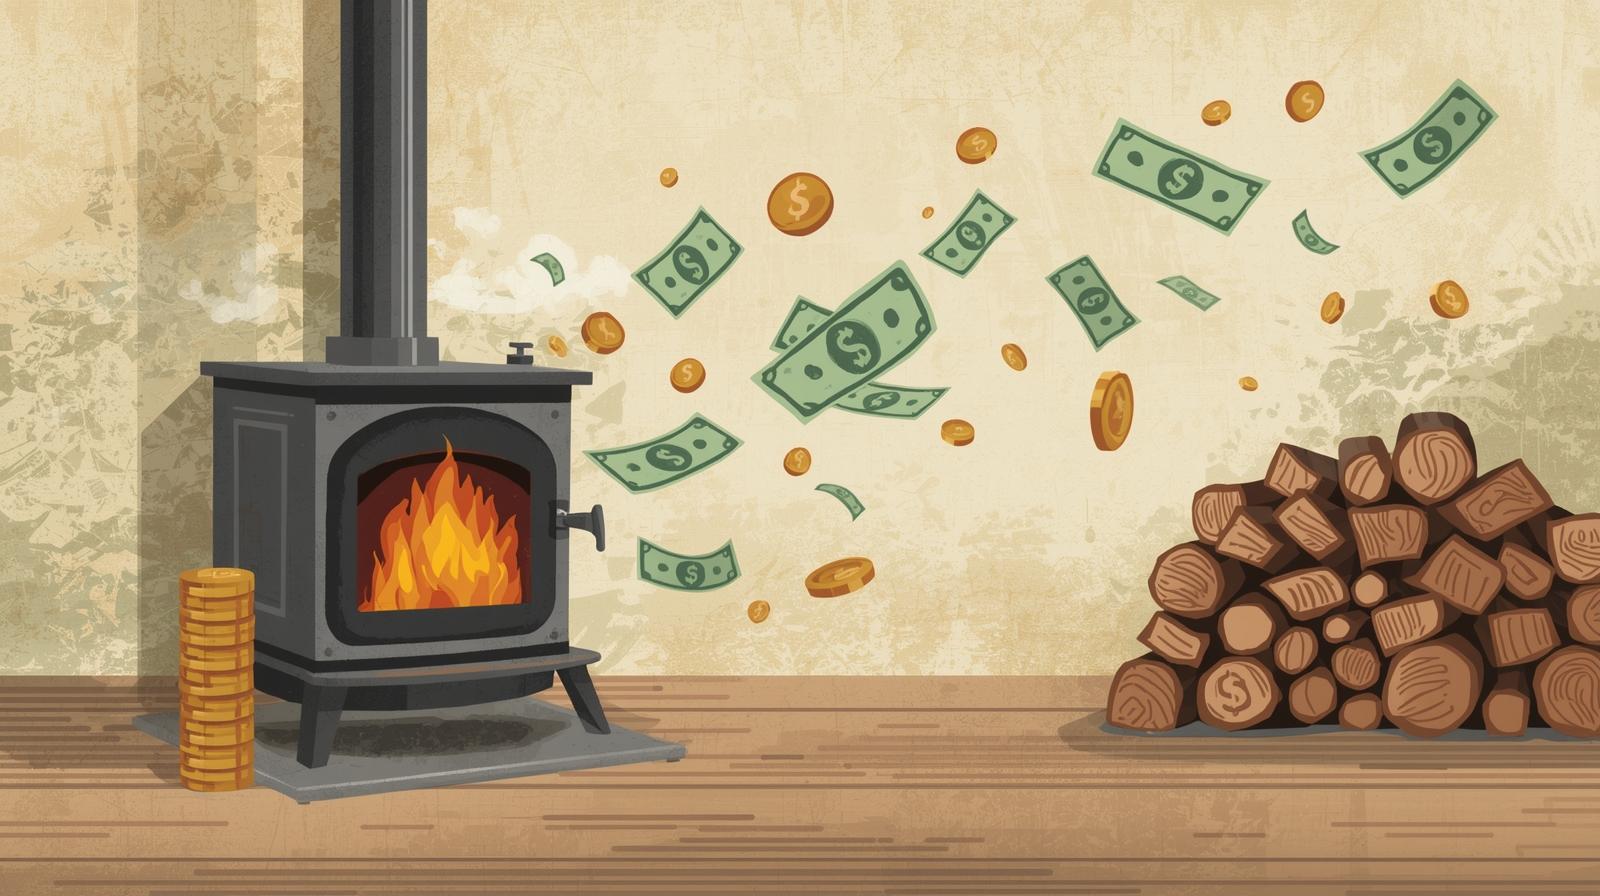
This time I’ve put together the money side and the “what it’s actually like after you start using it” — for anyone thinking of installing a wood stove. I installed one myself, so this is stuff I learned the hard way. Well, at least I tried.
Costs involved in installing a wood stove
① Stove price
Prices vary a lot by model, but here are rough benchmarks for popular options.
- Domestic / home-center type: around ¥100,000–¥250,000
- Overseas brands (Jøtul, Morso, etc.): around ¥600,000–¥1,200,000
- Encore (Vermont Castings): around ¥800,000–¥1,200,000
After visiting three specialist stove shops, what became clear was: “If it’s the same model, prices aren’t wildly different.”
What actually drives prices up is going through a house builder — they add margin, and suddenly the number looks scary.
If you really want to build with that house maker, or if the contract is already signed, talk seriously with them about how to install it — it can affect your house warranty and such, so decide together.
② Chimney work
Surprisingly, the chimney work can sometimes cost more than the stove itself.
Costs depend on whether you cut through the roof, put an exterior flue, and whether the house is new or existing.
- New build with roof penetration: ¥300,000–¥500,000
- Exterior flue on an existing house: ¥400,000–¥800,000
You can say that a stove’s performance is decided almost more by the chimney than by the body — so don’t skimp here. Cheap flues tend to accumulate soot, which raises the risk of chimney fires or blockages and increases maintenance. Think it through.
③ Full installation work
Hearth (the fireproof area the stove sits on), fireproof walls, heat protection around the area — that sort of thing.
In many cases this ends up in the ¥100,000–¥300,000 range.
▶ Summary…
- Domestic / simple models: ¥300,000–¥600,000
- Imported models at the Encore level + solid chimney: ¥1,200,000–¥1,800,000
“Wait, that’s more than I thought…” you might say. But once you’ve used it through a winter, considering maintenance and durability, this part really ties into your quality of life. Installing a stove is often major work that even involves making holes in the house, so Johnny recommends going with something solid.
The reality after installing: wood collecting and maintenance
From here on I’ll share the day-to-day reality I learned after I started using mine.
A wood stove is wonderful — but not easy. It’s the kind of heating you end up loving because of the effort, not despite it.
① Gathering wood — cutting, splitting, drying, restacking
We ask nearby building sites for leftover timber sometimes. But these days there’s a lot of plywood, which isn’t ideal for stoves (the glue isn’t something you want to burn), so you have to sort it out.
When plywood turns up mixed in, we cut the pieces small and use them for summer barbecues. That’s one of those “this happens in wood-stove life” moments.
Talk to people cutting trees nearby, call landscapers to see if they’ll drop stuff off, follow wood-stove groups on social media — over time you get leads and tips.
If someone’s offering wood for free, they usually want it gone quickly, so be ready to pick it up fast. Those small efforts are how Johnny gathers most of his wood.
Even if you get wood for free, it still needs at least 1–2 years to dry. Cut it, split it, stack it, then restack it the following year — rinse and repeat.
Honestly, it’s a lot of work. But your winter heating bills get a lot less worrying, and you stay cozy.
Buying as an option
If you can’t get free wood, you can buy it. Vendors vary: some deliver fully seasoned wood, some deliver split logs that still need drying, some deliver rounds. I bought fully seasoned wood in my first year, but it was pricey — and I immediately started wood-gathering myself after that.
② Kindling prep
Thin branches and offcuts are great for kindling. If you can get solid lumber offcuts from construction sites, that’s gold.
Pine cones, small twigs, and the dust from splitting logs are also useful. This part takes practice, but you’ll get the hang of how to build a fire.
③ Lighting up → takes 20–40 minutes to warm up
The downside of a wood stove is you don’t get warm the moment you walk in the door. We usually only light up after coming home in the evening, which helps, but it still takes 20–40 minutes to really heat the place.
That said, once it’s warm the whole house gets a soft, enveloping heat — a level of comfort different from air conditioning. Even just lighting it at night gets us through nicely.
④ End-of-season chimney cleaning and ash disposal
Chimney cleaning is mandatory every year.
There’s often more soot than you’d expect — leaving it alone is dangerous (risk of chimney fire).
Hiring a professional costs about ¥15,000–¥30,000. It’s high-up work, so be careful.
When we built the house, the design took chimney cleaning into account, so I usually do it myself.
I empty the ash about every three days. You can use ash for soil improvement in a home garden, but it accumulates fast and sometimes you’ll have to throw it away. Check your municipality’s rules on ash disposal in advance.
The Encore has an ash pan underneath, but we sealed that off and use the bottom area for cooking sometimes.
Thoughts after actually installing one
There’s a lot of work, but every year I still think installing the wood stove was the right choice.
- You can boil water or cook on the stovetop
- Making pizza inside the stove is amazing
- Prepping baked sweet potatoes under the stove is a winter treat
- Watching the fire is pure luxury
It’s less “a heating appliance” and more “a tool that enriches your whole way of living.”
More articles I wrote ↓
👉 Comparison and basics of wood stoves
👉 Wood stove FAQ for beginners
I’m not fluent in English, but I really wanted to share this story.
So I tried my best using translation tools to write this post.
If you find anything that sounds strange, unnatural, or offensive,
please let me know in the comments.
I’ll check it carefully, translate your feedback, and fix it.
Thank you for reading!
コメント